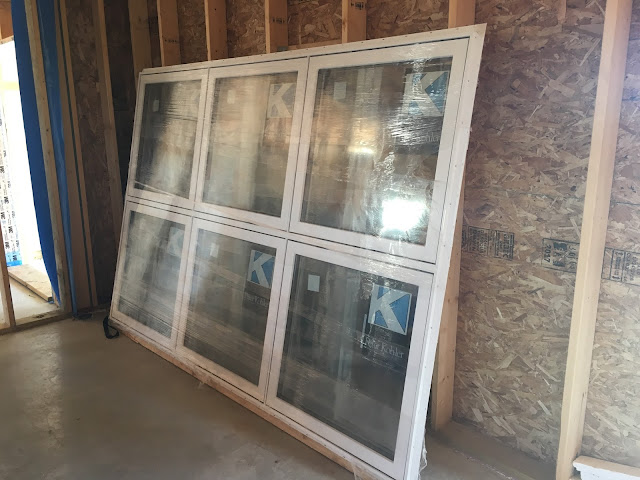
We ran a little behind on the framing stage so my windows and doors have been stored at "The Window Shop" for about a month now. They were finally delived (Photo 1-1 to 1-4) and we started with the installation right away.
All windows for the house are triple glazed Energlas Plus HSG (high solar gain) on the south side and LSG (low solar gain) on the north. The window R-value is about 5.5. This is not your ultimate european passive house window but its not too shabby for the price. The LSG windows provided a slightly better result for the calculated yearly energy demand in the PHPP software. This is not surprising since the R-value is marginally higher than HSG windows and solar heat gain is about 50% that of the HSG windows. The house is sitting about 15 degrees off geographical south and in the summer the sun rises slightly behind the home which will cast some sun light into the north facing windows in the mornings. The LSG windows will definitely help with limiting the solar gain early in the day.
I ordered my Kohler windows with a nailing flange to make installation fairly easy. I opted to leave out the j-trim since I would be installing wood trim and siding around the windows. Kohler provides several options for installation. Their instructions for new installations specifically says that the steel window clips only need to be used if the window is larger than 20 square feet. This being said, it appears to me that these installation clips are really only effective in tension which is only kind of useful. It seems that the flange nails and sill shims do most of the work for holding the window in place. In any case, once spray foamed they won't be going anywhere. Having shims extend to the inside of the window frame would make it hard to seal around the window with backer rod so we used Plygem vinyl trim cut to specific thicknesses as shims at the edge of the sill. The window was tested in the opening and the shims were cut to fit the window level. The back of the window flange at the jambs and header was caulked with silicone and the window was tilted into place once we determined that the window would fit properly. The windows were slightly shifted from left to right to center them in the buck as best as possible. There were some non uniform gaps along the edge of the window and buck but should be easily tackled by using spray foam, backer rod and caulk. The flanges were nailed in place using 1.5" roofing nails (Photo 2-1, 2-2). Photo 2-1 and 2-2 also illustrates my window taping detail shown in a previous blog entry. This surface allows to flash the exterior of the window to the previous taping detail. Once completed, a drip cap flashing will be added to the top of the window and the weather resistant barrier (WRB) will taped to it. The WRB will extend down the sides of the window jambs and be taped to the 3M 8067 jamb flashings.
Finalizing the window flashing is fairly simple work. I have become very well versed in taping. The tape is so expensive that mistakes can be come costly. I cut the flashing tape about 8" inches longer than the jamb/header. I take some time to roll the tape into a nice tight roll. I peel back the first couple of inches of backer and align the tape to the window so it rolls straight. I use one hand to guide the roll as I pull the paper backer. The edge of the window frame keeps the roll aligned as I unroll the tap. Only slight modifications need to be made as I unroll the tape to keep it strait (Photo 3-1). After the tape is unrolled, I use hand pressure to flatten the tape evenly then go over the tape with a j-roller.
With the window installation complete, its time to move on to the door installation....

Photo 1-1 Doors

Photo 1-2 Large window for the living room

Photo 1-3 windows for the house and porch

Photo 1-4 more windows for the house and porch

Photo 2-1 Nailing flange detail on the kitchen window header. 1.5" roofing nails were used for attaching he flange. Notice the the silicone caulk squeezing out above the flange. Also notice my taping detail. This now provides a smooth taped surface to flash the window against.

Photo 2-2 Nailing flange detail on the kitchen window jamb. 1.5" roofing nails were used for attaching he flange. Notice the the silicone caulk squeezing out above the flange.

Photo 3-1. Setting up to unroll the tape along a window jamb.

Photo 3-2. Window header completed.

Photo 3-2. North facade windows installed

Photo 3-2. South facade windows installed
Absolutely stunning! Love it, love your blog and your beautiful photography!
ReplyDelete