In the previous post I showed some pictures of the posts and beams to be used for the front verandah and inside the house. Those timbers are now on site! (Photo 1-1). They were delivered the day before the lift so we could prepare jack posts in the walls to support the beam. The hemlock beam for the living room sits on a jack post which will penetrate through the interior OSB air barrier. Beams check and split and can open up into the cavity from the main living space. They can be a large source of air leakage. The key is to wrap the beam in tape...alot of it! (Photo 1-2). The tape will be air sealed to the interior OSB with more tape and acoustical sealant. Photo 2-1 and 2-2 shows the timber beam being lifted by the boom truck and maneuvered into place. It was finally dropped into the prepared wall pockets and secured (Photo 2-3) after which the framers started joisting the second floor. As soon as the joists were completed the framers started sheathing the floor above. We used PL premium glue and nails to attach the sub floor.
Since the garage will be a woodworking shop, I needed a clear span across the garage for woodworking tools. The span across the garage is 24' and required a 4 ply 18" LVL beam. The beam is installed flush to the top of the joists. The rest of the floor system is 2x10. The beam was prepared according to the bolting pattern provided by the truss company (W. G. Garland Trusses, Carbonear, NL). Photos 3-1 to 3-3 show the lift and final position of the beam. With these major components in place we could commence with joisting and flooring the second level.
This was the end of a major milestone for the build...and the beginning of another! Time to start sheathing the exterior with foam! The foam product used on the walls is called True Wall, it is a type 1 EPS foam with slots for strapping. It is usually purchased with a thickness less than 3" and can accommodate 1x3 strapping but can be manufactured to meet any specifications. In our case we used 2x4 slots every 24" to secure the foam with screws. I have tried several ways to cut foam. Depending on thickness different methods work better/worse than others. For thin foam i.e. 1" or less I like using a utility knife. Its sharp and you can work quickly with a strait edge. If the foam is greater than 1" thick, I find that utility blades wander. For really thick foam i.e. 4"+, a small, fine toothed, handsaw works great. For 2"-3" foam, I find that a broad knife with the edge sharpened to a razors edge works the best. You can use a straight piece of 2"x4" lumber to guide the broad knife (Photo 4-1). Once the cut is scored part way through, the score will guide successive cuts without a straightedge as long as you work slowly (Photo 4-2). Photo 4-3 and 4-4 show the north wall after a couple hours work....easy peasy!
Lots of stuff completed this week and we are moving along nicely. Framing the second level with commence next week.

Photo 1-1. Timbers for verandah and living room.

Photo 1-2. Tape sealing the end of the timber beam with 3M tape.

Photo 2-1. Lifting the beam for the living room.

Photo 2-2. Slowly maneuvering the beam to its final location

Photo 2-3. The beam in its final resting place over the living room.

Photo 2-4. Second floor joists on and floor sheathing completed.

Photo 3-1. Lifting the Garage LVL

Photo 3-2. Dropping the garage LVL into the prepared wall pocket.
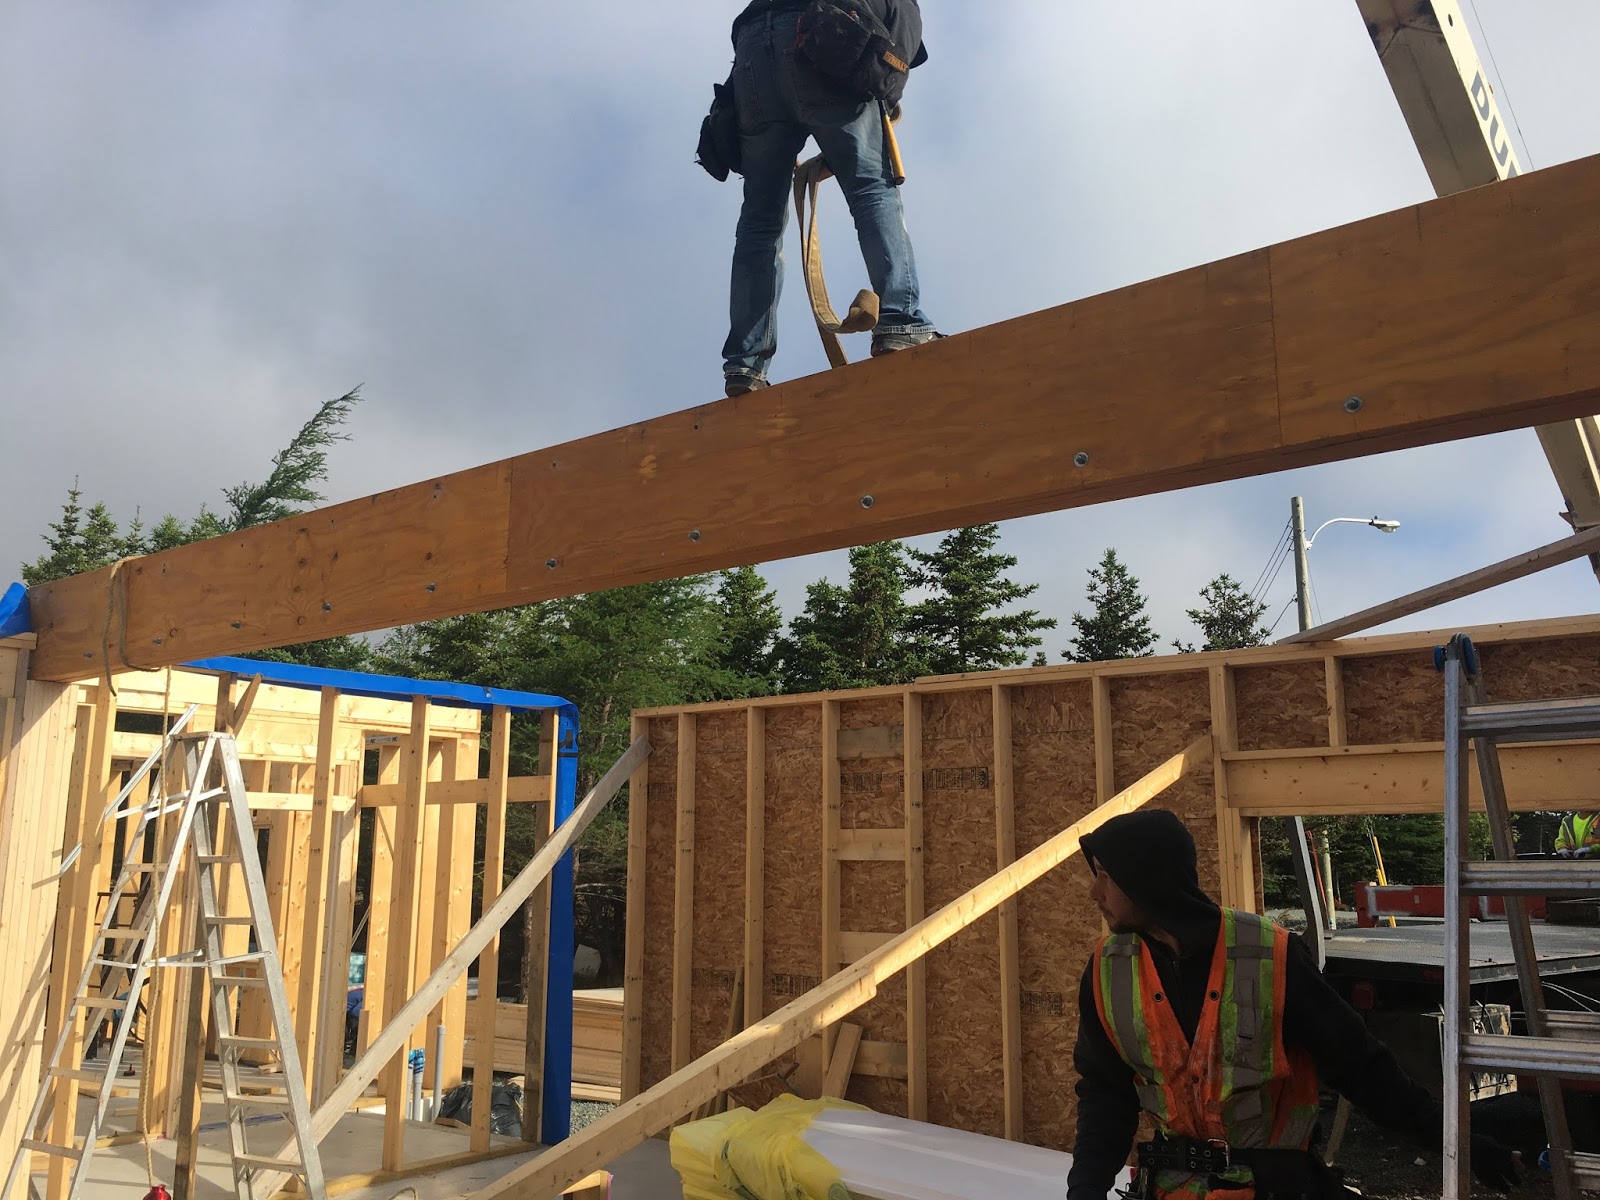
Photo 3-3. Garage LVL secured.

Photo 4-1. Sharpened broad knife for cutting EPS foam

Photo 4-2. Cutting the foam using the scored line as a guide.

Photo 4-3. View of the door and window in the foam sheathing.

Photo 4-4 North wall foam almost complete!
Comments
Post a Comment