Attic hatches are notoriously leaky and are often under insulated. The challenge here was to build a hatch with deep insulation (i.e. at least R-36) and has great air sealing details. Luckily my plans came with details to build a hatch to meet the specifications.


You may recall that in a previous post (https://flatrockpassivehouse.blogspot.ca/2017/08/the-attic-hatchway-landing-and-catwalk.html) I illustrated that because of the depth of insulation in the attic, the hatchway had to be built with deep sides much like that of a deep window buck. Trying to push the hatch door straight upwards would just lead to the door binding so the back end of the hatchway was sloped to make getting into the attic and moving the hatchway door easier.
To plan the build I had to think a little about how the hatch would tie into the air tight barrier. Initially, when the OSB on the ceiling was installed, 3M and acoustical sealant was used around the perimeter of the hatchway buck. This made the buck part of the air barrier. When the ceiling was strapped, 2x4s were framed around the opening and 3M tape was wrapped from the tape installed on the hatchway buck down onto the face of the 2x4 frame around the buck. This essentially extends the buck down from the OSB attic decking and the 2x4 frame becomes a part of the air barrier. So air sealing the hatch frame is really the same as my window air sealing details. That is, insert a hatch frame, fill with backer rod, caulk the backer rod and spray foam around the opening and voila! It all had to be build from scratch so it wasn't that easy!
For the hatchway frame I choose to use clear eastern white pine. Knots can be leaky if they loosen as the wood dries so clear pine seemed like a good choice. I measured the hatch opening and decided to make the frame 3/4" less than the opening. This would allow for 1/2" backer rod all the way around the hatch frame. I glued and screwed the frame pieces together ( Photo 1). I added a strip of 3M tape to the top edge so the foam gasket would seal against the tape and not the wood. If the joints ever open due to movement, the tape is stretch enough to allow for a good seal. For the hatch door I used 1/2" plywood (Photo 2). I had enough foam left from the exterior of the house piece together the insulation for the hatch. The biggest challenge here was cutting the angle on the foam to match the slope of the hatch opening. I measured the angle of the opening with a bevel gauge and transferred it to the foam (Photo 3). I cut the bevel with a small fine tooth hand saw (Photo 4). The pieces were fit on top of the hatch door to verify sizing and were then glued using minimal expansion spray foam (Photo 5,6) and clamped. After the clamps were removed, the spray foam was trimmed flush with the foam block (Photo 7). After the hatch and frame were painted with a vapour barrier primer and coved with 2 coats of latex pearl paint. The foam was then spray foam glued to the hatch (Photo 8). Closed cell foam tape was applied to the top of the frame in one continuous piece. Photo 8 shows both assemblies ready for installation.
Installation was similar to that of a door frame. The frame was fitted into the opening with shims. The shims were inserted above the plane of the opening so that it wouldn't interfere with installation of the backer rod. At each shim position, 2" 16 gauge brad nails were used to secure the frame. Backer rod was pushed into the 3/8" opening around the frame from below and caulked Photo 9. Spray foam was applied from above and trimmed once it was cured (Photo 10).
Hooks and eyes were then secured to the opening in order to keep it closed (Photo 11). Overall I am pleased with the process and the assembly. The next blower door test will reveal how air tight it actually is!

Photo 1. Assembled hatchway frame.

Photo 2. Plywood hatchway door

Photo 3. Pencil line showing the angle of the hatchway on the foam.

Photo 4. Cutting the foam with a small handsaw.

Photo 5. Fitted pieces sitting on top of the plywood door.

Photo 6. Glueing up the foam pieces.

Photo 7. Foam block completed!
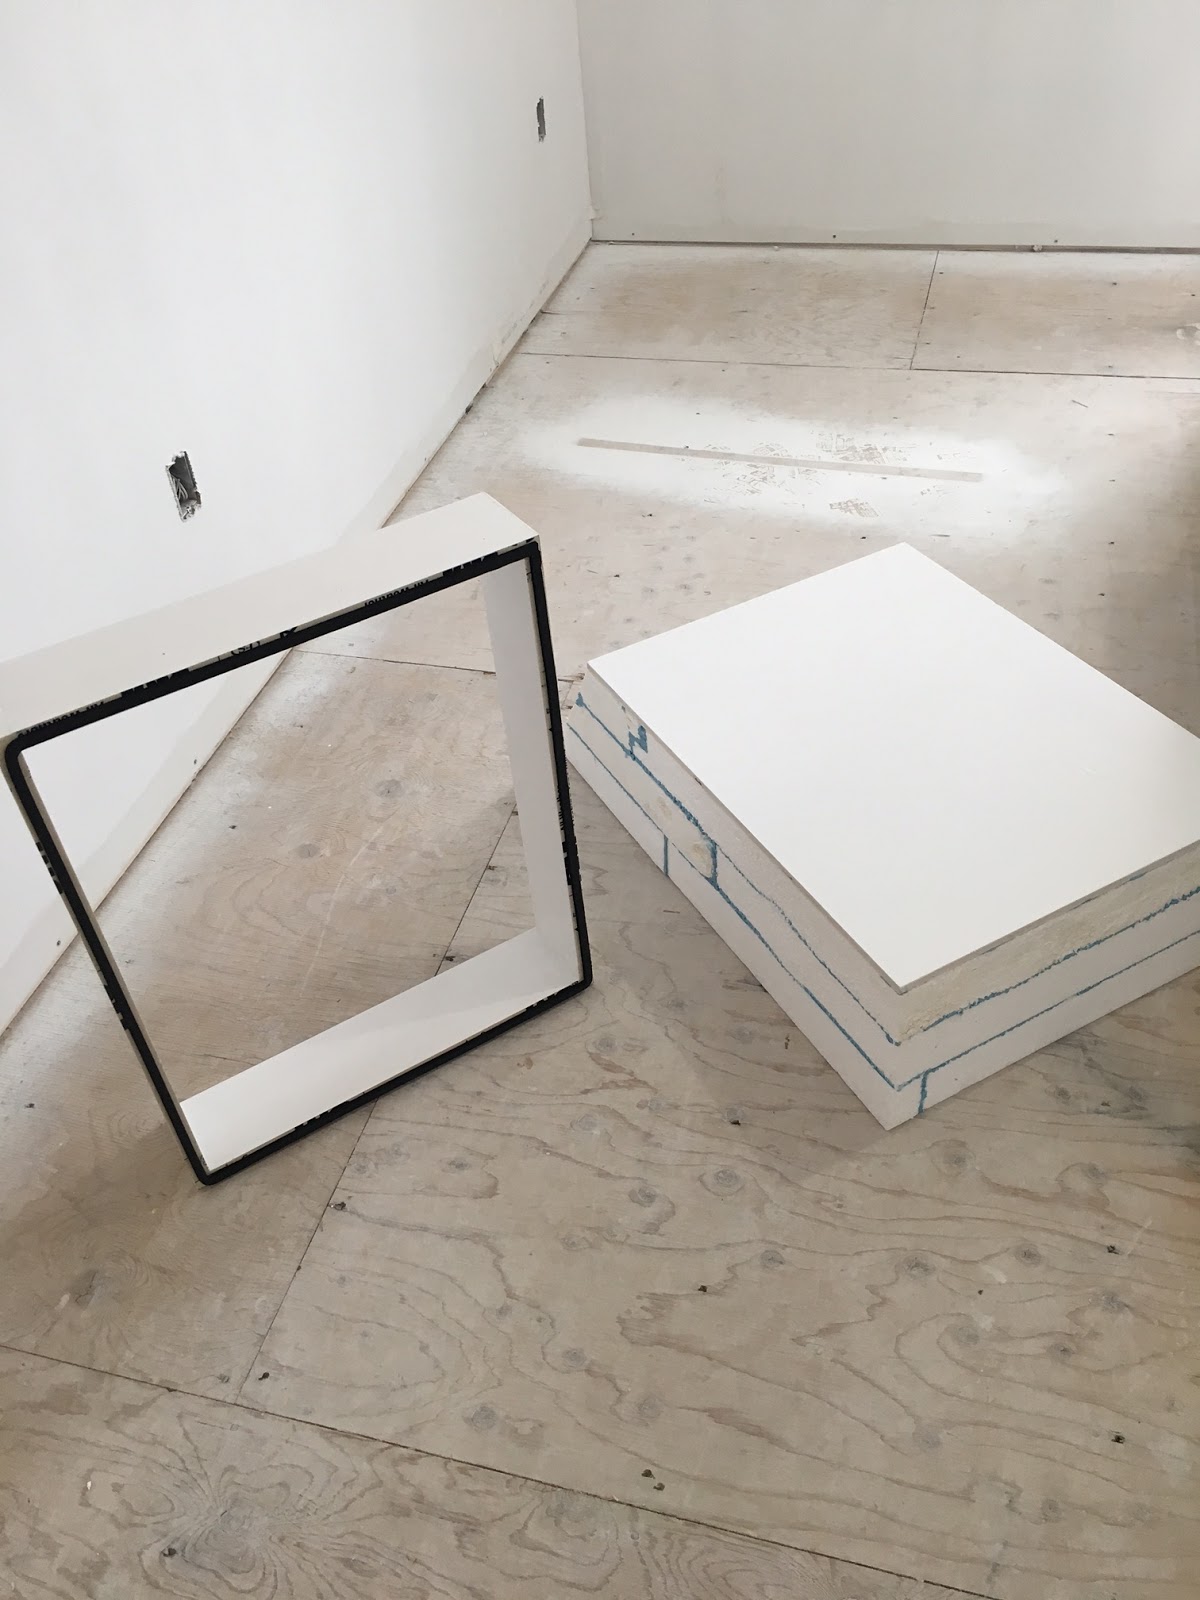
Photo 8. Finished assemblies.

Photo 9. Caulked backer rod.

Photo 10. Spray foam was applied to the gap between the opening and the hatchway frame from above. If you look above the frame you will see yellow spray foam.

Photo 11. Hooks and eyes installed. The fit is tight so we'll see on the final blower door test if the attic hatch passes!
Comments
Post a Comment